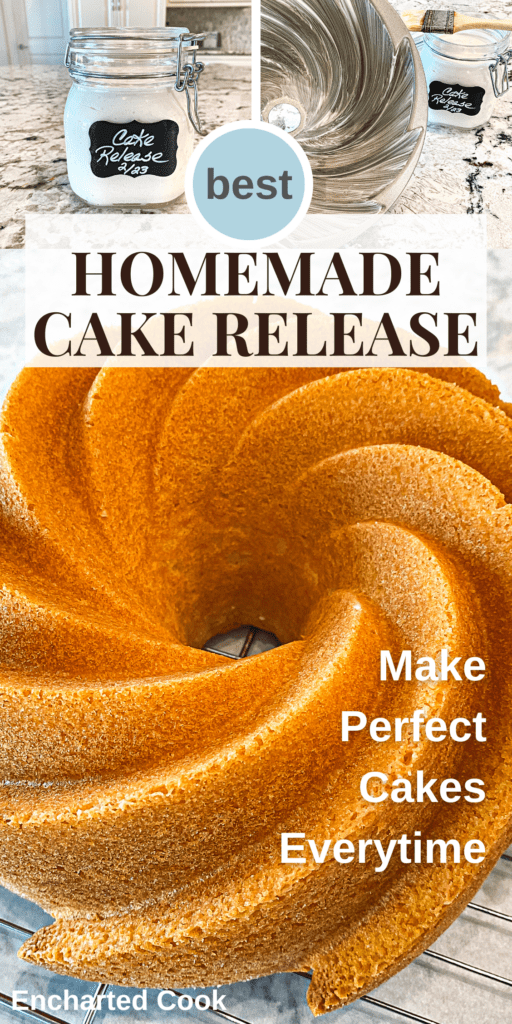
Make Cake Goop: a 3-ingredient pan release paste that streamlines greasing and flouring in one easy step-cakes release flawlessly!
If you bake, you surely know the phrase "grease and flour baking pan". This is an essential step to help ensure cakes release from their pans.
However, sometimes cakes stick and break at the worst times. Luckily, there is a magic paste you can make yourself that keeps cakes and bakes from sticking every time.
This Homemade Cake Release lets you grease and flour your baking pans in just one step. This simple three-ingredient recipe releases cakes and other bakes from pans and is shelf-stable for up to six months.
Once you have tried this easy-to-make cake release you won't want to be without it. No more finding a spot in the pan after flouring that didn't get any grease or buying expensive sprays!
Jump to:
Why We Love Homemade Cake Release
- Only 3 Ingredients.
- Recipe is 1:1:1.
- Quick and Easy to Make - a 15-Minute Recipe.
- It Has a Long 6 Month Shelf Life.
- Works in All Recipes that Say "Grease and Flour".
- It is Vegetarian and Vegan.
If you have an intricate pan or are planning a massive baking day, you will want to use this Homemade Cake Release. In one step you can grease and flour your pans just by brushing this cake release onto the bottom and/or sides of the pans. It is truly a time saver and is perfect when you need to grease and flour a fancy bundt pan that has lots of nooks and crannies.
Also called "cake goop" and "miracle pan release", this homemade pan release works each and every time to easily release cakes, loaves of bread, and muffins from their pans.
So, if you want to know a real baker's secret for the perfect turnout of your baked goods... let's cook!
Ingredient Notes
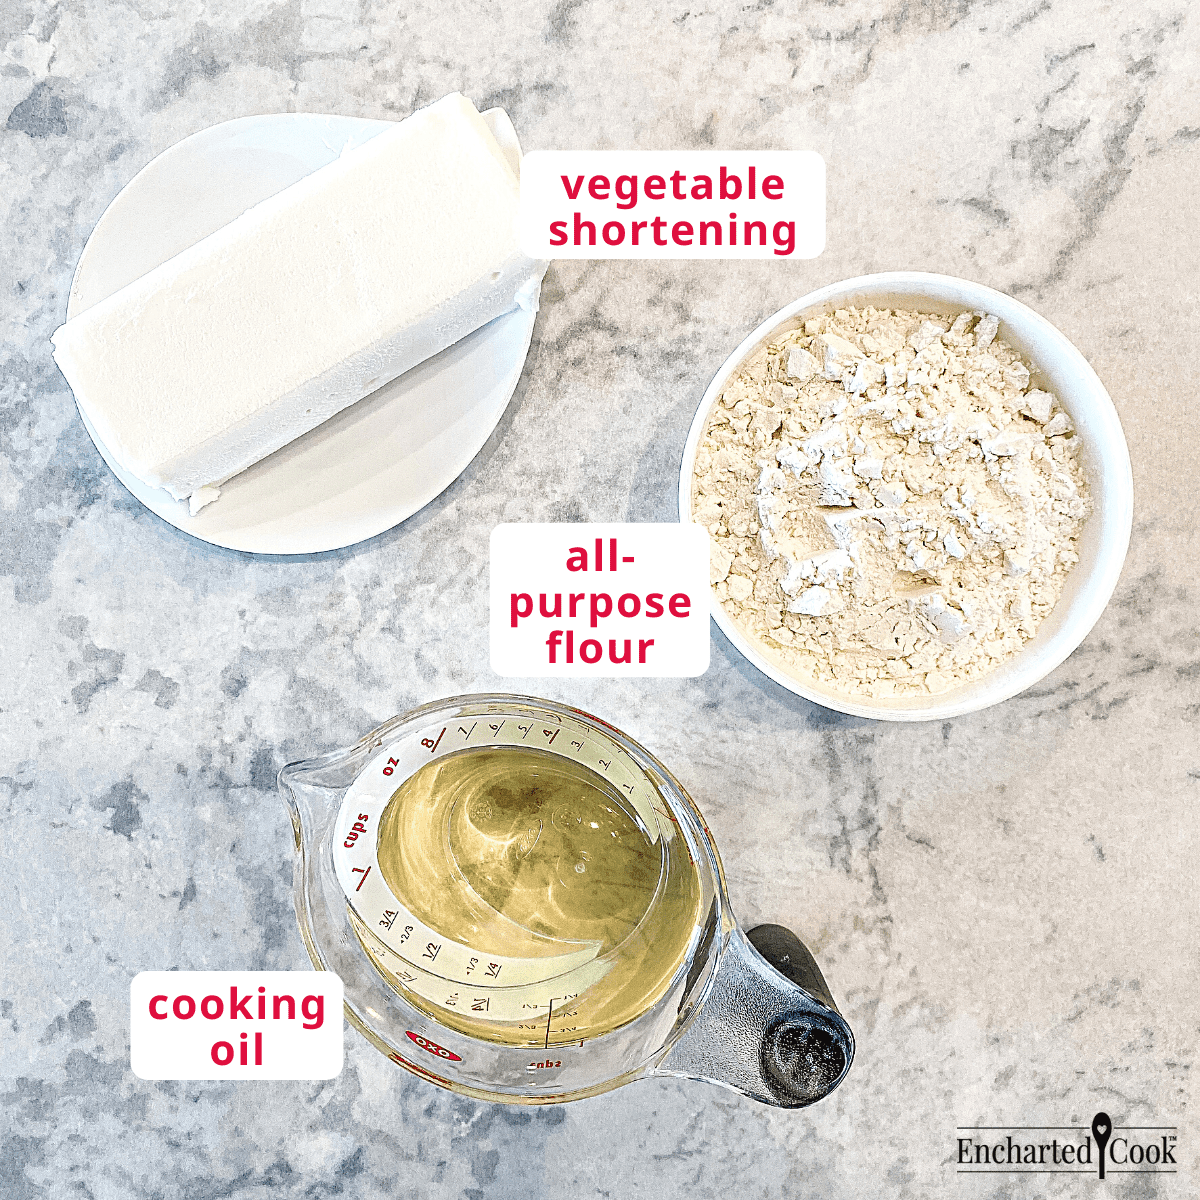
Here's what you need:
- Vegetable Shortening - Use an all-vegetable shortening. A vegetable shortening will be more heat tolerant than lard or a blend of vegetable and animal fats.
- All-Purpose Flour - Simple all-purpose flour is all you need. You can use bleached or unbleached flour.
- Vegetable Cooking Oil - You can use any vegetable cooking oil, but I prefer to use safflower oil for its light color, neutral flavor, and high smoking point.
Please see the recipe card for exact quantities.
How to Make Homemade Cake Release
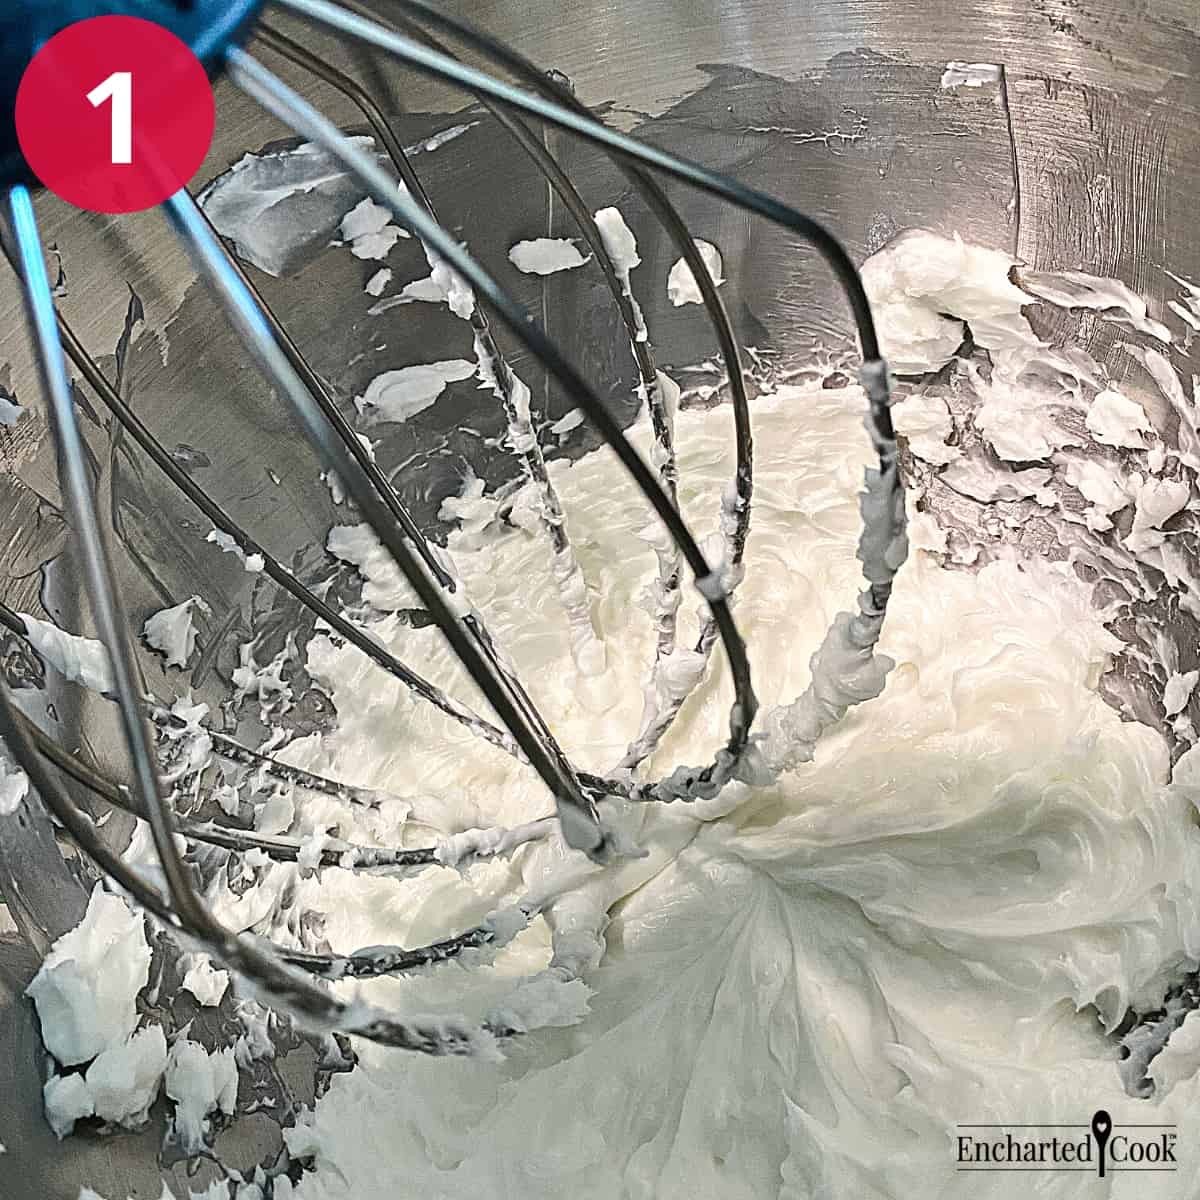
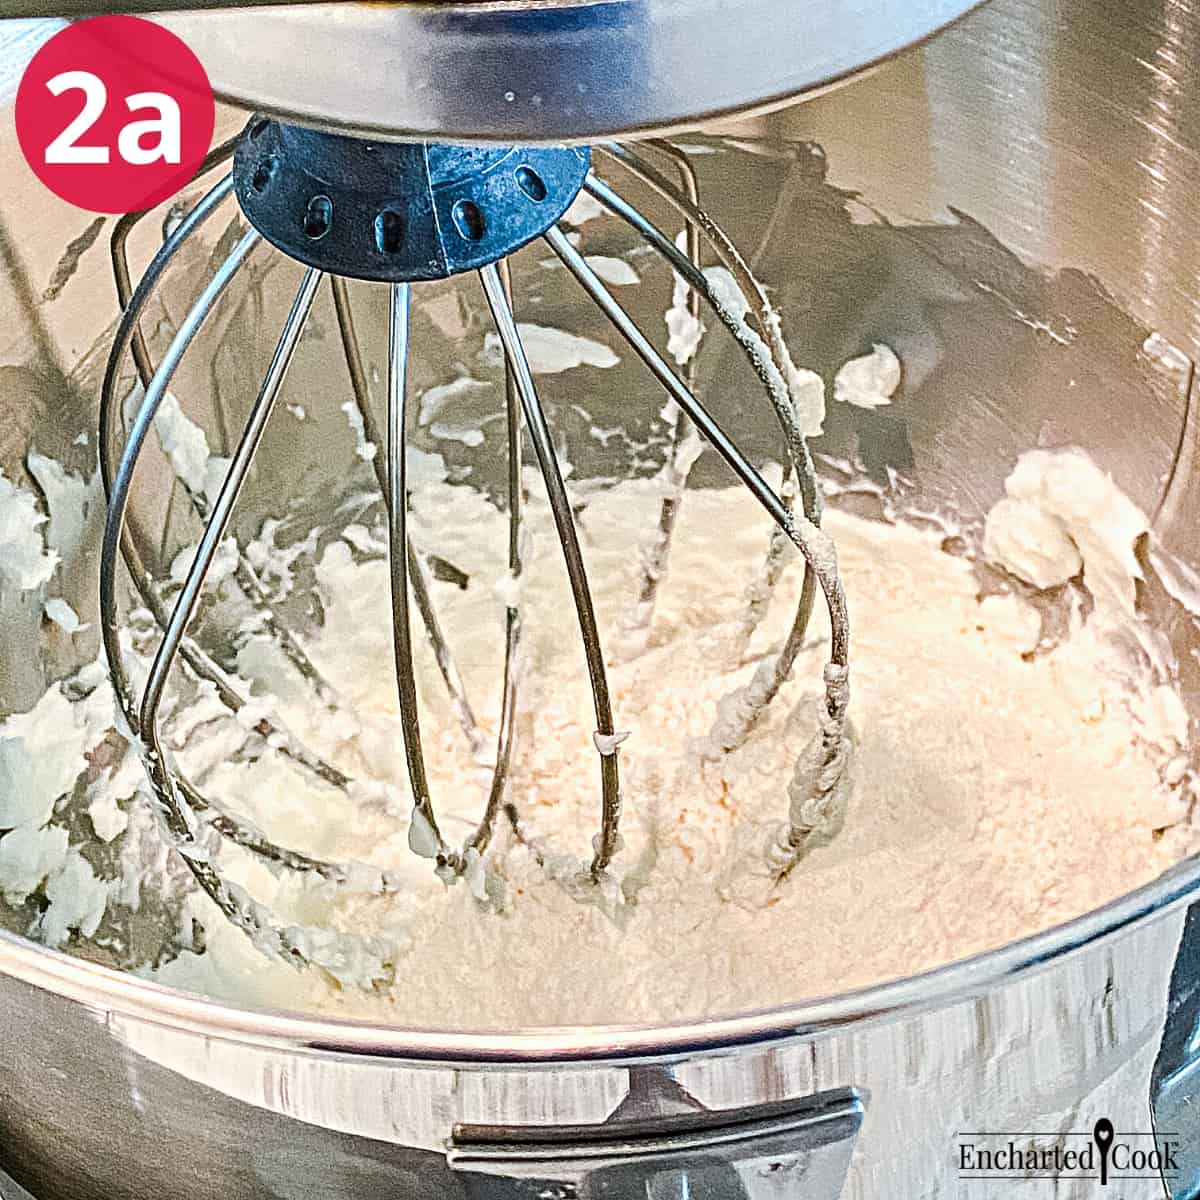
Using a stand mixer on medium-low speed, beat the shortening until soft and creamy.
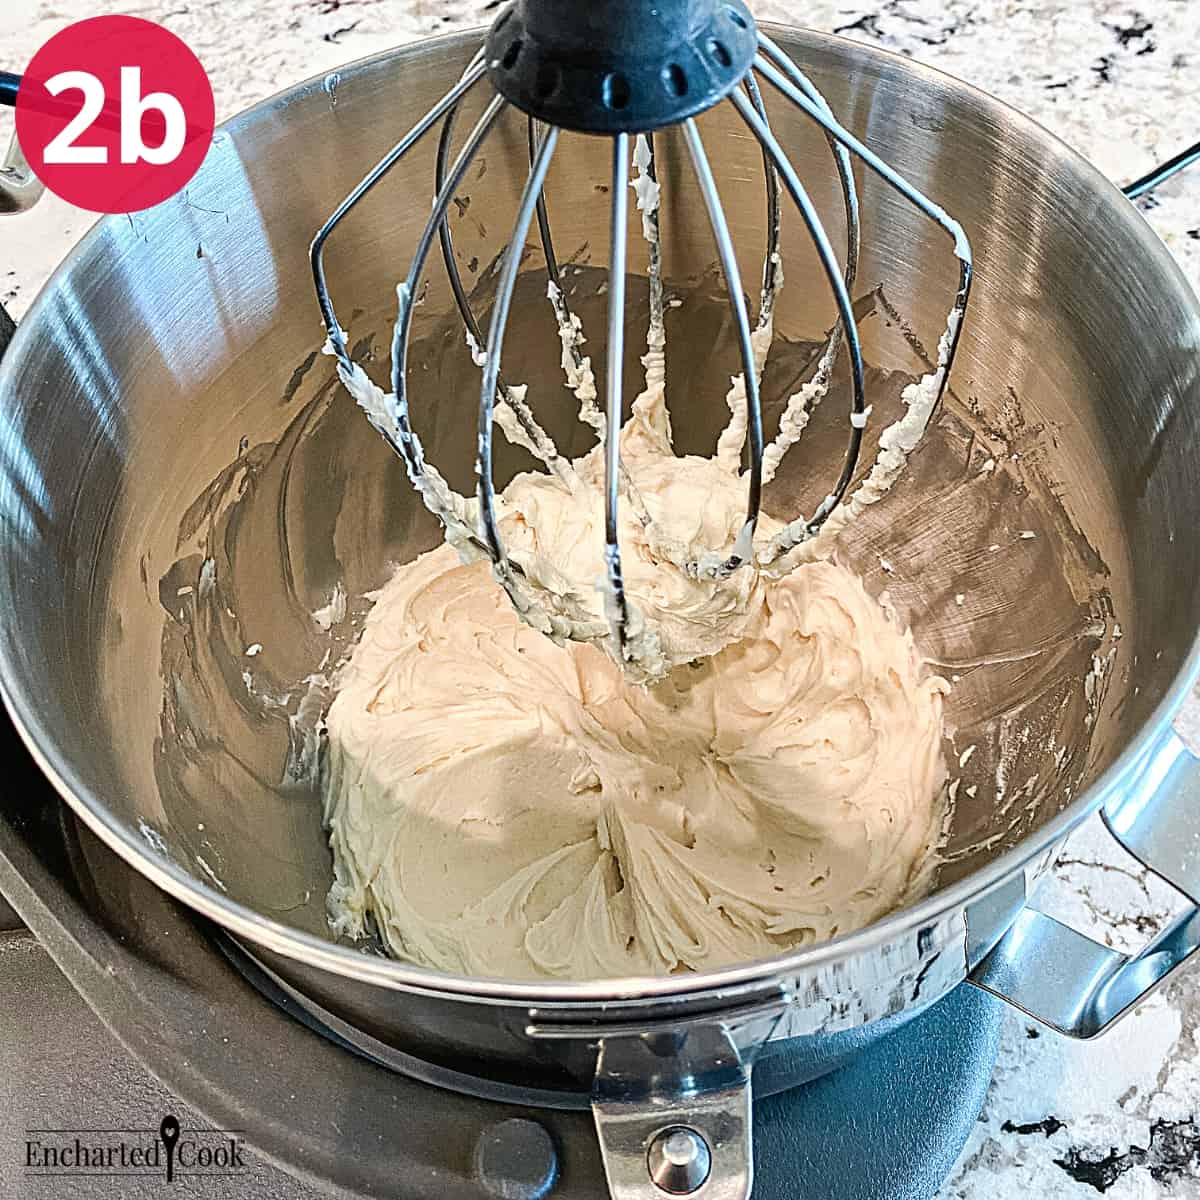
Reduce the speed to low and add the all-purpose flour. Once the flour is completely incorporated increase the speed to high and beat until the mixture is light, fluffy, and free of lumps.
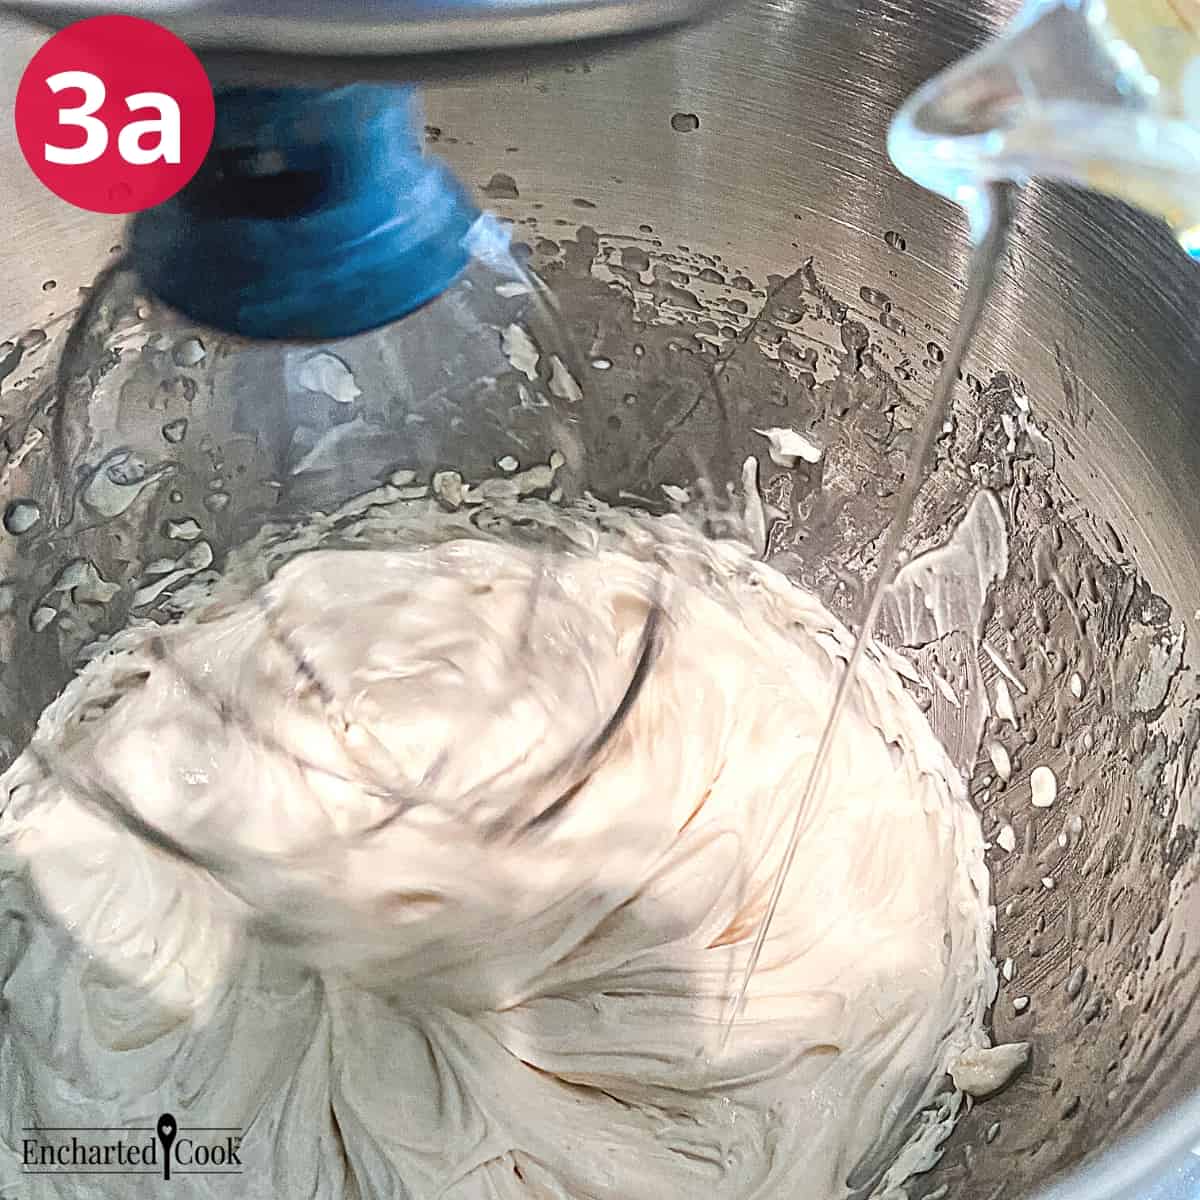
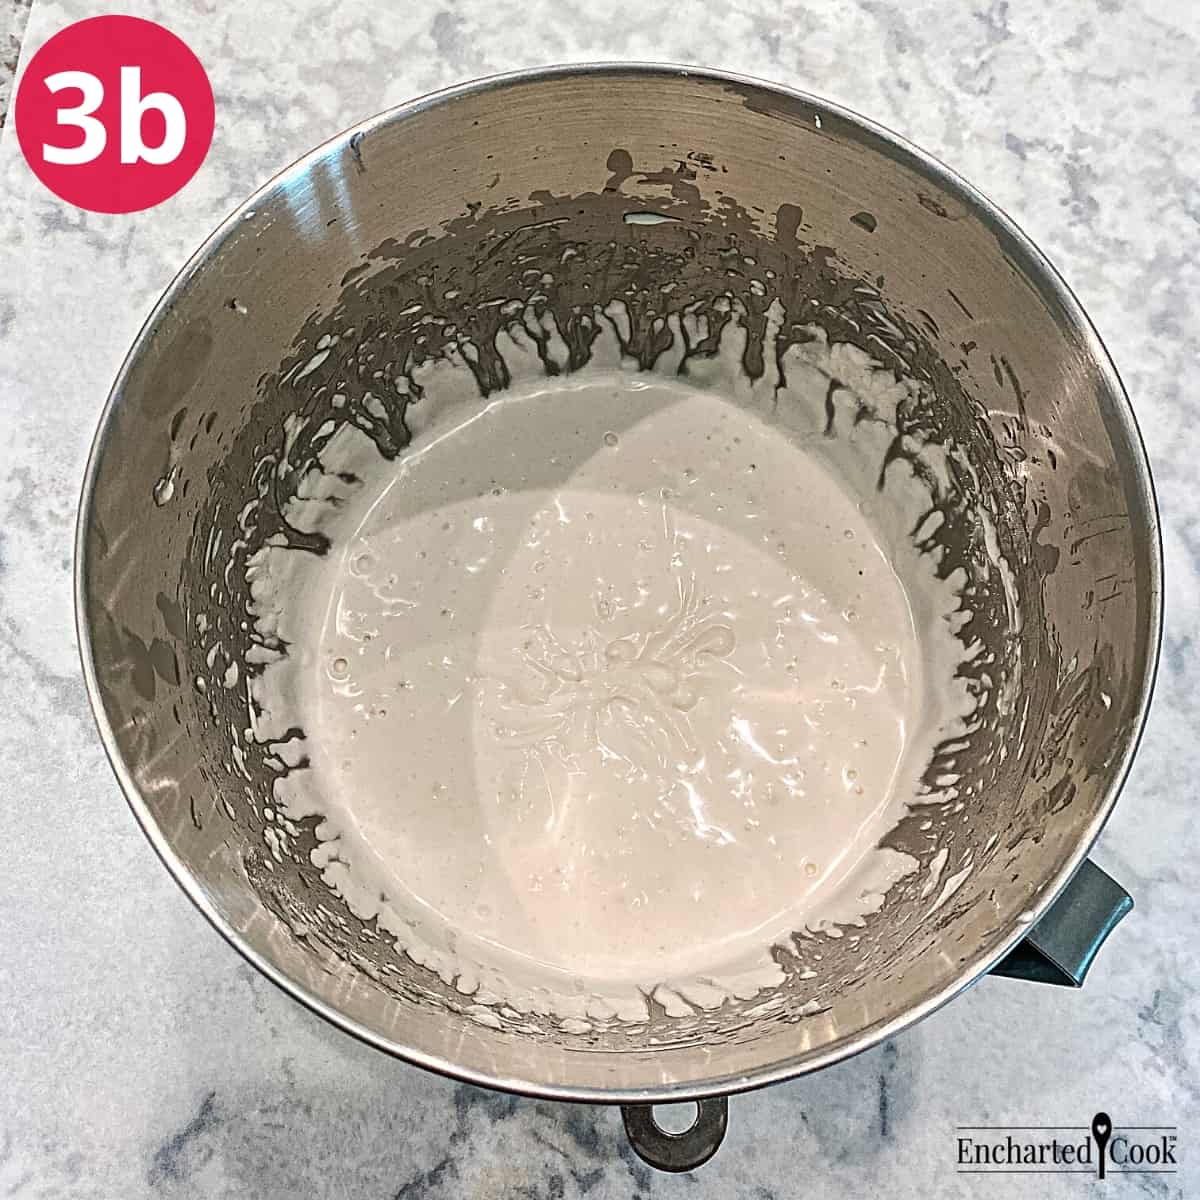
Reduce the mixer speed to medium-high and gradually drizzle in the cooking oil, two tablespoons at a time, and beat well after each addition until the oil is completely incorporated. After all the oil is incorporated, continue to beat at high speed for 2 minutes. The mixture will be a paste that is very white, light, and fluffy.
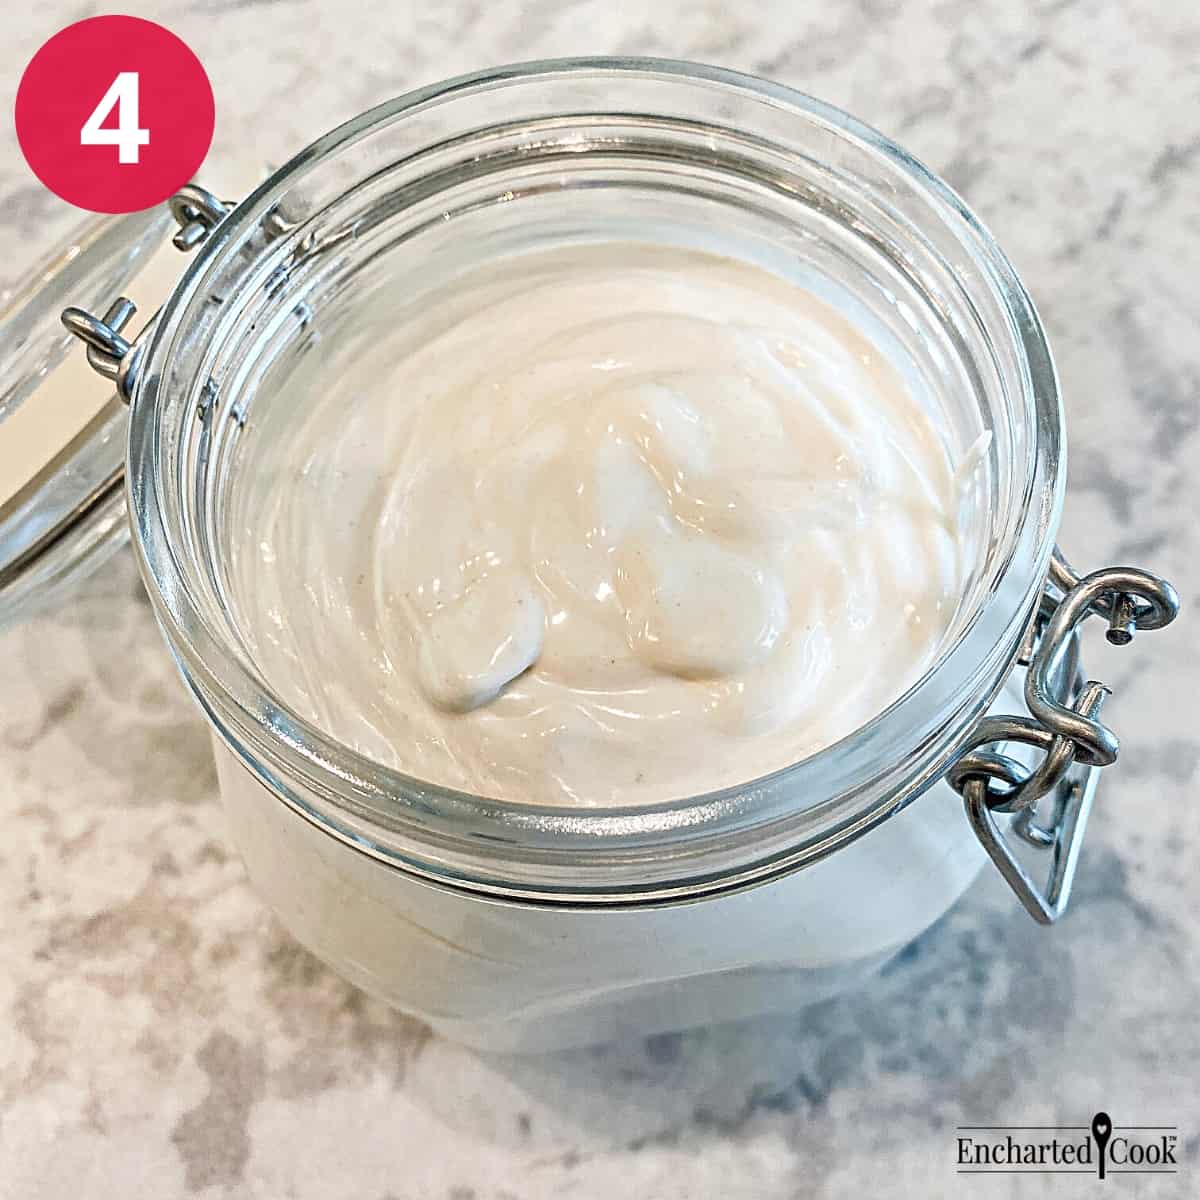
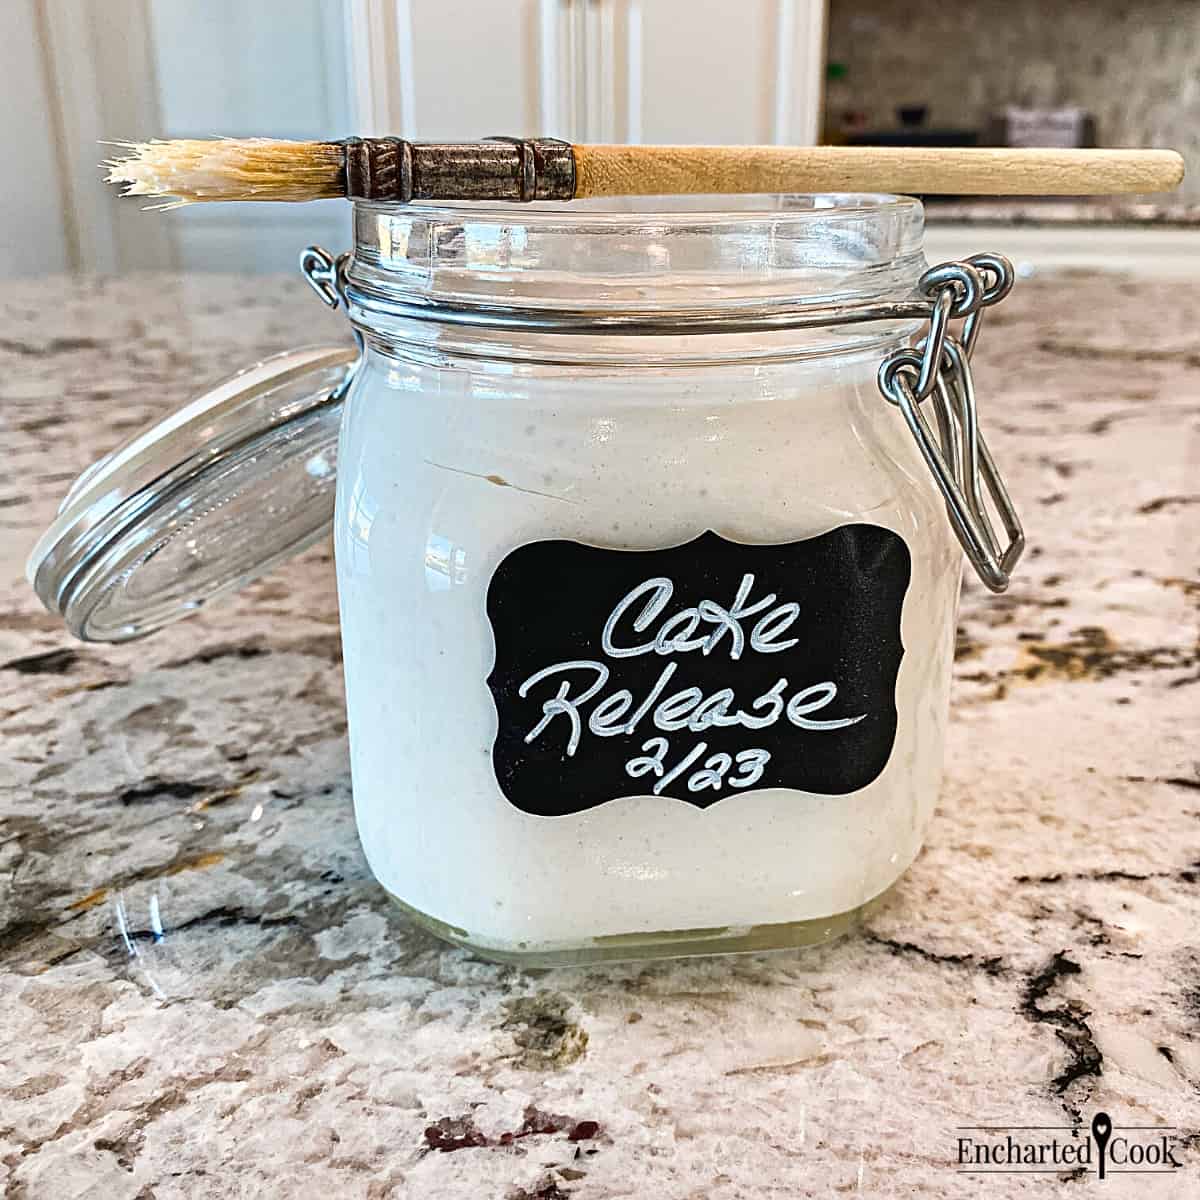
Transfer the cake release to an airtight container with a lid.
Pro Tip - Taking the time to beat the oil in completely will yield a more stable cake release that does not separate.
How to Use this Homemade Cake Release

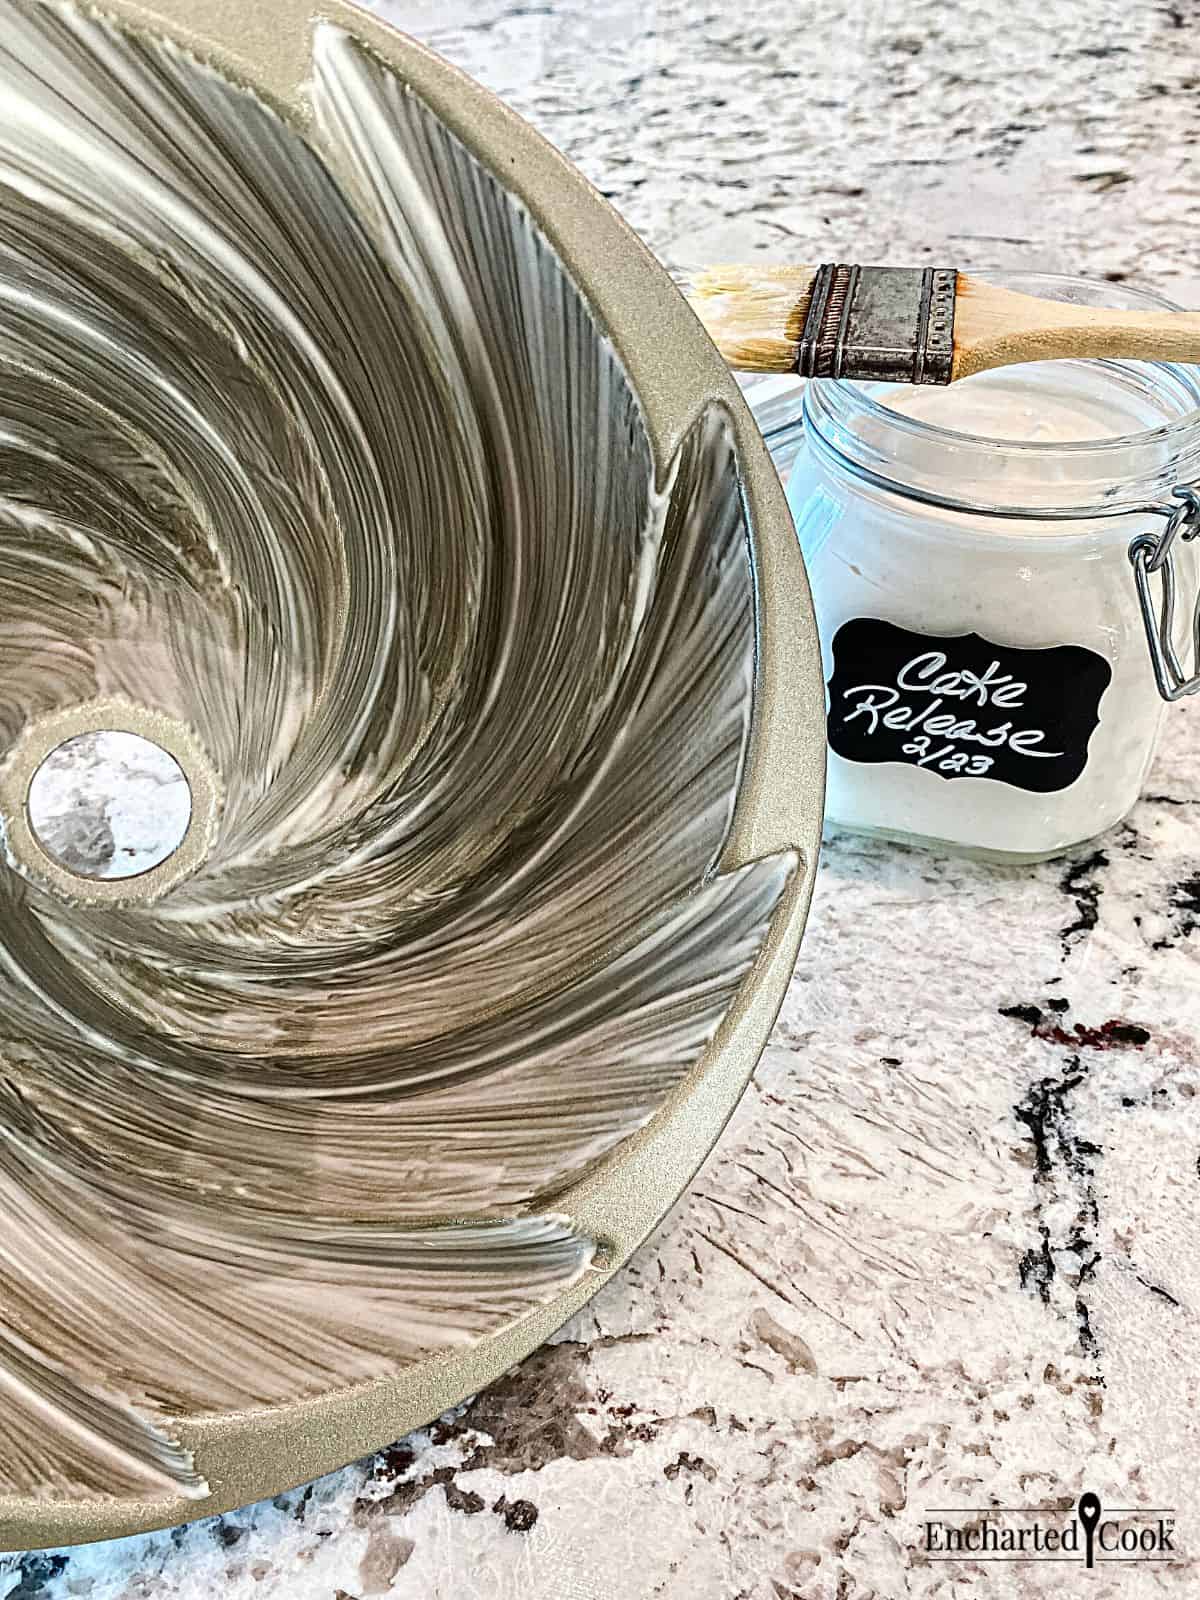
Using a pastry brush, coat all of the insides of a pan with the paste. For this bundt pan, I used long strokes from the center of the pan and turned the pan often to reach every nook and cranny.

Add the batter to the prepared pan just like you would normally do and bake as directed in the recipe.
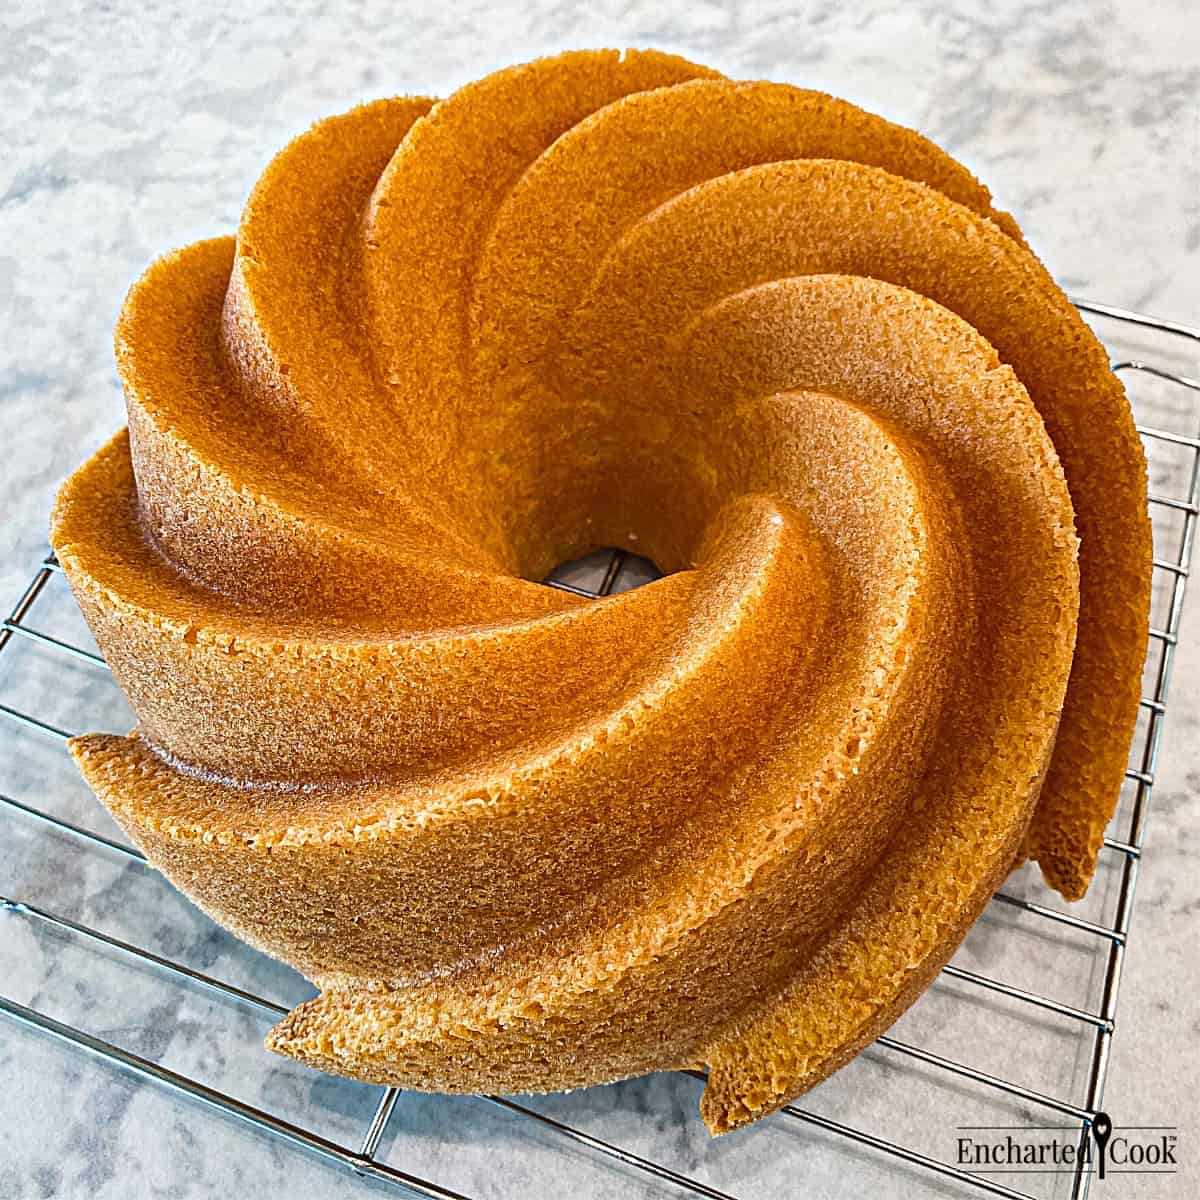
Allow the cake to cool according to the directions of your recipe. Then, tip the cake out onto a cooling rack and allow it to cool completely. Your cake will easily release from the pan and look absolutely gorgeous.
You can use the magic paste on every size and shape of baking pan like round, square, oblong, cupcakes, bundt pans, and more!
Ways to Use Homemade Cake Release
- Anytime a Recipe Says "Grease and Flour".
- Baking Pans with Intricate Designs.
- Cakes.
- Muffins.
- Cupcakes.
- Bread.
- Brownies and Blondies.
My Top Tips
♡ High Sugar Bakes - Cakes with a high amount of sugar may need the baking pans lined with parchment paper in addition to using cake release on the pan and also on the paper to keep them from sticking.
♡ Angel Food - Never use cake release when making angel food cakes. These cakes need the friction of the sides of the pan to rise to lofty heights.
♡ Separation - Over time, the cake release might separate slightly and you may see a layer of oil in the bottom of the container. This does not mean the cake release is not usable. Simply beat it at high speed in the bowl of a stand mixer to bring it back together again.
Substitutions & Variations
Chocolate Bakes - When using cake release for chocolate cakes and brownies add an additional dusting of cocoa powder. Brush the cake release on and then add cocoa powder to the pan. Tip and tilt the pan until a fine layer of cocoa adheres to the pan. Then tip out any excess cocoa. Chocolate cakes will have a nice dark edge and not floury white sides and bottoms.
Gluten-Free - You can substitute your favorite gluten-free flour blend for the all-purpose flour. I recommend the King Arthur Measure-for-Measure Flour.
Equipment
I prefer to use a stand mixer as it allows me to make the cake release very smooth without becoming tired from hand beating. Alternatively, you can use a hand mixer.
However, if you do not have a mixer you can beat the flour into the shortening with a wooden spoon and finish with a whisk when adding the oil. It will take a little longer than using an electric mixer, but having a cake release that will last at least 6 months is truly worth the effort.
Make-Ahead & Storage
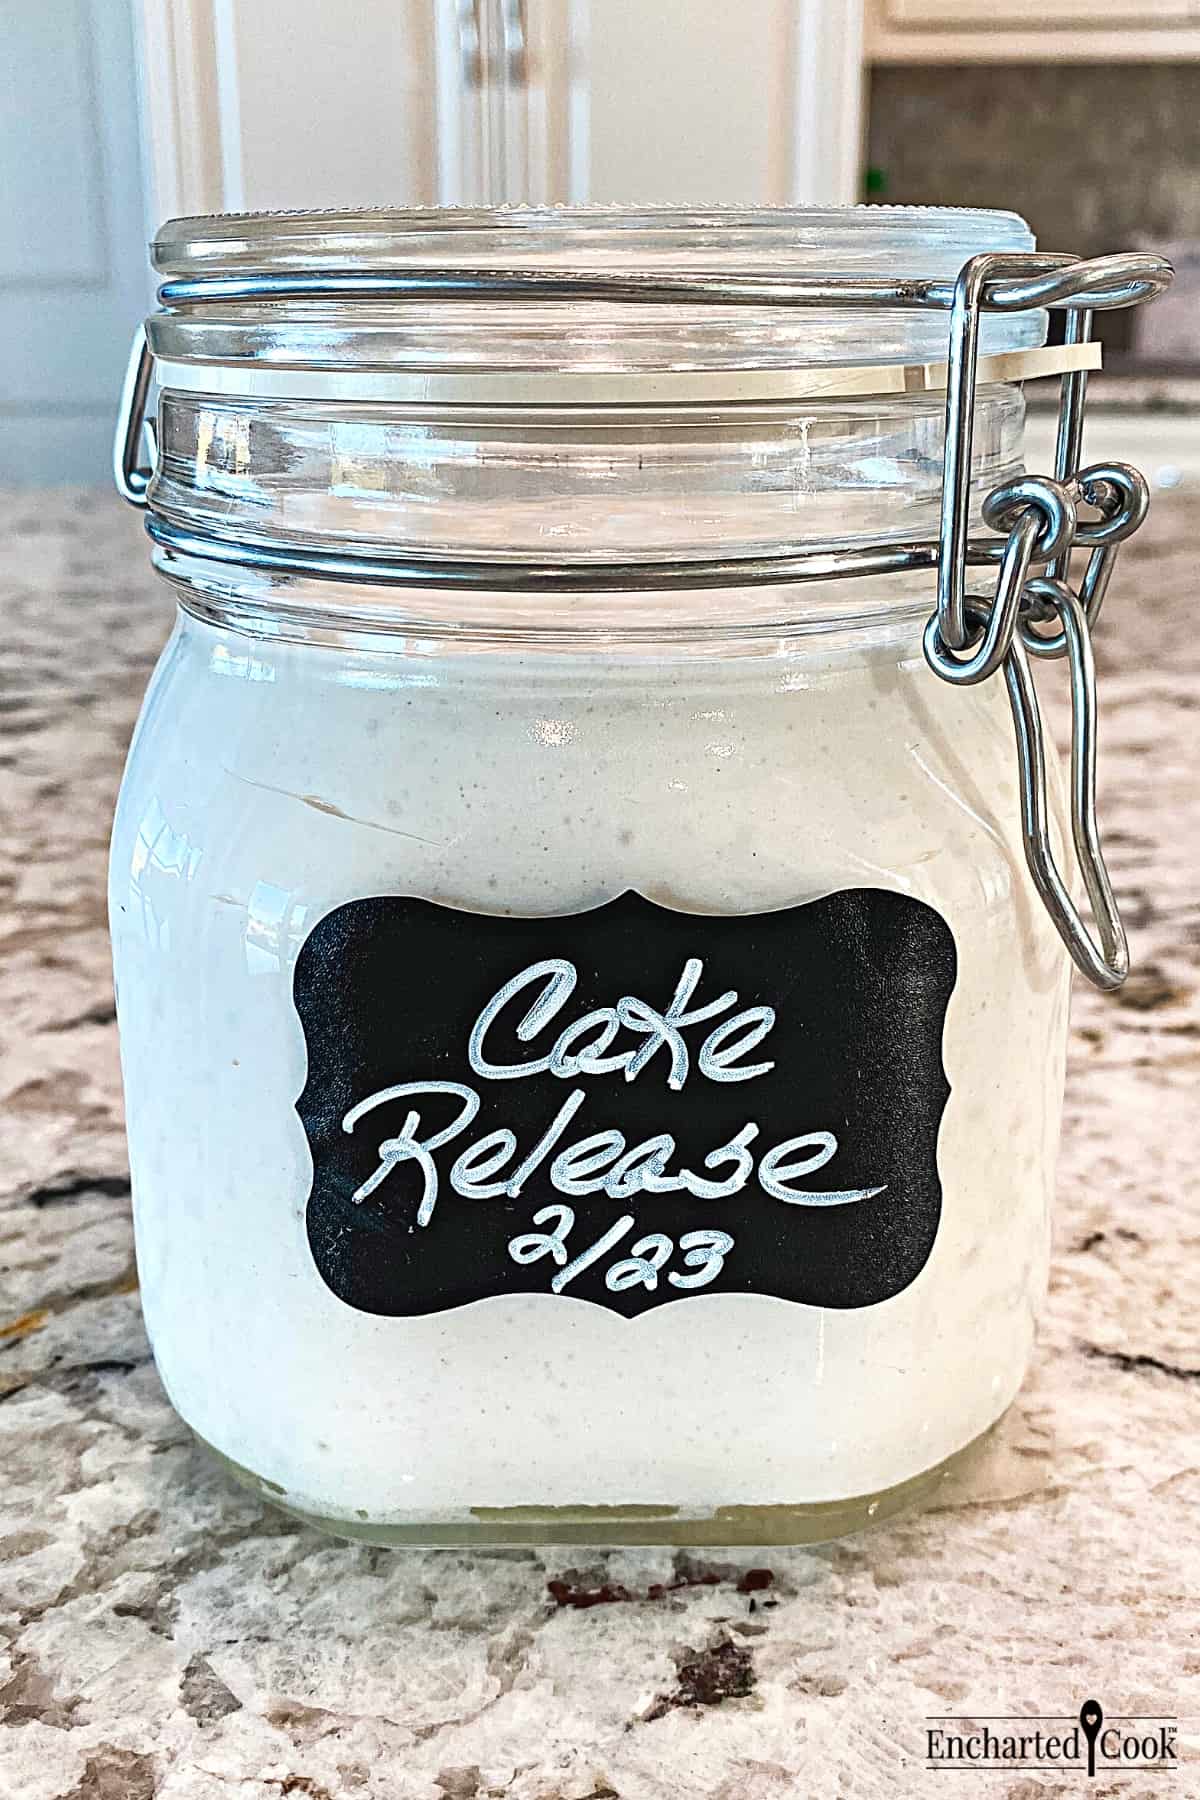
Store at Room Temperature: If you live in a temperate climate you can store the cake release in an airtight container for up to 6 months. Room temperature storage will mean it will always be immediately brushable.
Refrigerate: For warmer climates, store it in the refrigerator and it will easily keep for 6 months. You will need to let it come to room temperature to let it warm and soften, so it can be brushed.
Freeze: This magical cake release can also be stored in an airtight freezer container for up to 1 year. Allow it to thaw before using it.
Use Homemade Cake Release for These Recipes


♡ Did you love this Homemade Cake Release? Please leave a star rating and a comment below!
📖 Recipe

Homemade Cake Release Recipe {Cake Goop}
Want to save this recipe?
Equipment
- Stand Mixer
Ingredients
- 1 Cup Vegetable Shortening
- 1 Cup All-Purpose Flour
- 1 Cup Vegetable Cooking Oil
Instructions
- Use a stand mixer with the balloon attachment on medium-lowspeed and beat the shortening until soft and creamy.1 Cup Vegetable Shortening
- Reduce the mixer speed to low and add the all-purpose flour. Once the flour is completely incorporated increase the speed to high and beat until the mixture is light, fluffy, and free of lumps.1 Cup All-Purpose Flour
- Reduce the mixer speed to medium-high and gradually drizzle in the cooking oil, two tablespoons at a time, beat well after each addition until the oil is completely incorporated. After all the oil is incorporated, continue to beat at high speed for 2 minutes. The mixture will be a paste that is very white, light, and fluffy.1 Cup Vegetable Cooking Oil
- Transfer the cake release to an airtight container with a lid.
Notes
Nutrition
Per 1 serving. All nutritional information on this site is an estimate. Your results may vary.
Encharted Cook™ or Jan Nunes shall not be liable for adverse reactions or any other outcome resulting from the use of recipes or recommendations on this website or actions you take as a result.
© 2018-2026 Encharted Cook, Jan Nunes. All rights reserved.
![]()
Kathy says
Definitely sending this recipe to my sister! She bakes all the time and fights with cakes sticking to pans
Jan Nunes says
Hi Kathy,
Hopefully this will do the trick and your sister loves it.😊
Have a wonderful day! ~Jan